
How to Repair Your Damaged Brick Foundation: 3 Simple Steps
If your home foundation is made of clay bricks, you have made one of the better decisions when it comes to your housing. Clay bricks are so strong that they are often stronger than concrete and many other building materials. If installed correctly and maintained properly, the bricks held together by quality mortar can last for hundreds of years. However, it does not mean they are completely impervious to damage.
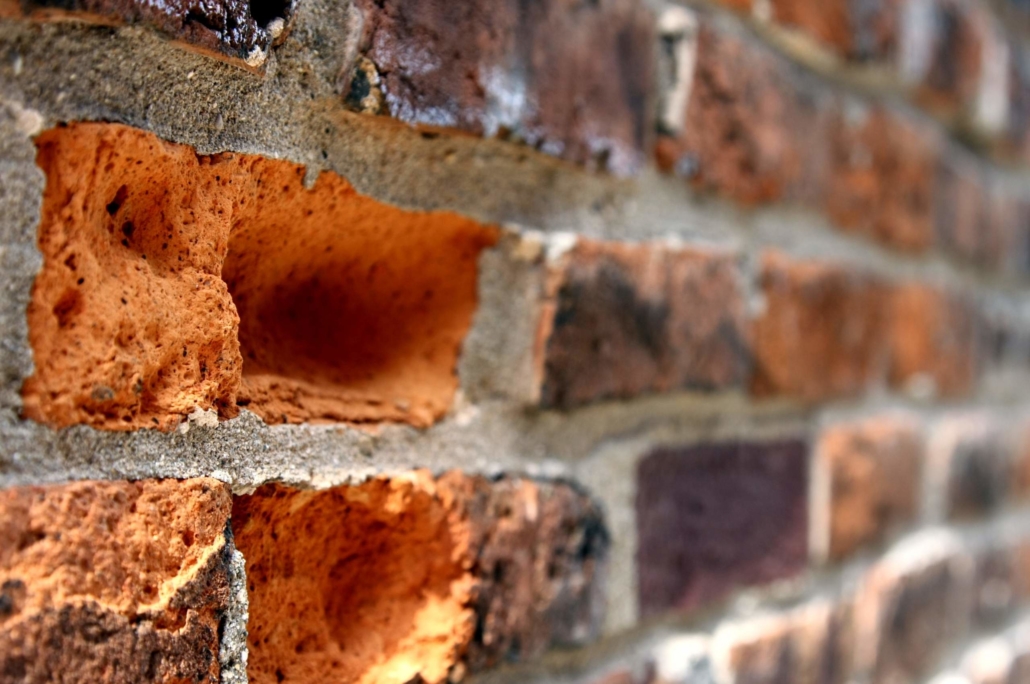
Over time, bricks deteriorate due to old age, the weather, and many other factors. If you think your bricks at home are already looking a bit damaged, but not to the point that your house requires an overhaul foundation repair, perhaps a brick repair service is what you need.
Here are the steps that usually go into this kind of quick foundation repair:
Step 1: Take Out the Damaged Brick
To fully replace the bad ones with new good ones, you have to take them out first. This step is tricky as you need to do it carefully not to damage the surrounding bricks.
You also have to use suitable materials to quickly break the damaged bricks apart, like the mason’s chisel and hammer. Most importantly, wear eye and hand protection when doing this step. You would not want to get specks of dust into your eyes or blisters around your hands as you work.
If you are removing layers of bricks, work from up until you reach the bottom. After removing the bricks, make sure to take out the mortar as well. Then, prepare the area for the new layers of bricks. That means ensuring everything is clean by cleaning it with a wire brush and vacuuming out all sorts of dirt and dust. You can also wipe it clean with water to ensure no leftover debris could affect later’s repair.
Step 2: Prepare Your Mortar
Mortar is the material used to bond bricks and other construction materials. When this material hardens, it turns into a stonelike mass that effectively affixes items. Make sure to prepare this material first before inserting the bricks. Be mindful of your colour choice as well. You would want your newer bricks and mortar to match with the old ones.
The more important tip is to follow the instructions of the manufacturer when mixing the mortar. That way, you can guarantee that it will do its job as it should.
Step 3: Apply the Mortar and Place the Brick
Once your mortar is ready, apply it first before placing your bricks. Make sure that it is distributed well and is uniformly applied throughout for better support. Try putting about an inch of mortar for a better hold. Once done, wet the brick with water and then place it on top of the brick. Layer another mortar on top of it to secure its placement.
What If You Need to Insert a Brick onto an Opening?
The challenge comes when there is a tight opening you need to fill, but it is pretty simple. Here is what you need to do:
- Slide the new brick into the opening. When you do this, expect the freshly-placed mortar to ooze out a bit.
- Use the butt end of your trowel to put the brick in the proper position.
- Once it is in place, add some more mortar to close out the gaps and joints. Scrape away any excess using the same trowel.
- Repeat until the repair is complete.
Conclusion
You do not always have to break your entire wall if only a few pieces of it are damaged. You can still save some money but experience the same quality foundation by doing a brick repair service. If you think you do not have the right tools or are not confident about the quality of your work, you can always rely on professional contractors to do it on your behalf.
Red Robin Masonry would be perfect for doing the job. We offer brick repair services and other foundation repairs to residents of Toronto. We are an award-winning company with more than 30 years of experience providing remedies to various home needs. Contact us today to book a service.


Leave a Reply
Want to join the discussion?Feel free to contribute!